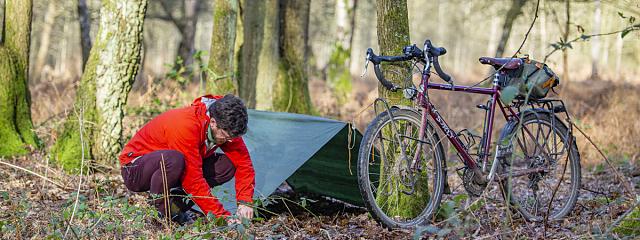
Making a simple A frame tarp using trees for support is a relatively straight-forward exercise and there are lots of online guides out there with tips on more exotic tarp set ups.
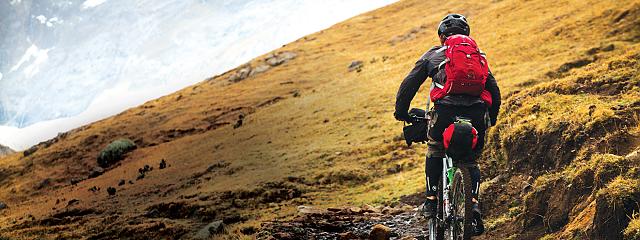
While it’s nearly always preferable (and easier) to use what nature offers you in the form of trees and rock formations, convenient spots aren’t always possible to find, especially if you’re in an unfamiliar part of the world.
Lightweight backpackers can use trekking poles to solve this conundrum. That’s not necessarily a sensible solution if bikepacking where space is a premium. An alternative option is to use your bike.
Convenient spots aren’t always possible to find, especially if you’re in an unfamiliar part of the world
Sam Jones, Cycling UK
If you’re determined to leave the tent behind and use a lightweight tarp, then with a bit of know-how, some pegs, paracord (or bungees), a tarp and – of course – your bike, then you should never be left without a roof over your head in the outdoors.
In the video above, we demonstrate two simple ways to use your bike to set up a free-standing tarp that all bikepackers should have in their repertoire. If you’d like to share other methods with us, please put your suggestions in the comment section below.
They can both be set up by one person – although, of course, like many things, a little help from a pal will make the process much easier.
Double-wheel shelter
This is an easy shelter to set up. Its profile is low, which means as well as being better in inclement weather, it’s also less likely to be spotted by others if you’re wild camping.
However, its low profile does mean it can be more difficult to enter and exit, and cooking will most likely have to be done outside.
Step 1
Remove both wheels from the bike and gently set aside the frame, with the drive side up. Lay out your tarp and peg the two outer corners on the long side.
By pegging one long side down first, you’ll find it much easier to set up your shelter.
Step 2
Position both wheels along the intended ridgeline in the centre of the tarp and attach guy ropes to the central eyelets of your tarp. Then secure the first wheel to the ground and repeat the process with the second.
While you’ll sacrifice a little height, you’ll find by passing your guy rope around the rim and tyre (see image above) you can achieve better tension than by using the wheel as a simple pole – and also you’ll avoid getting mud inside your tarp.
Step 3
Peg out the other long side and adjust the tension of any pegs that need it; step back and admire your shelter.
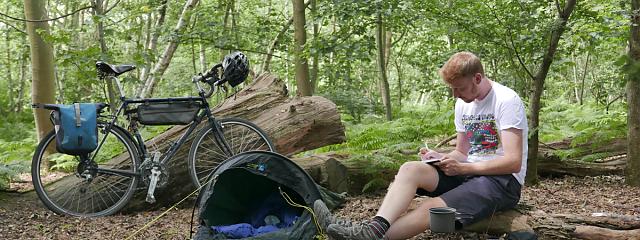
Single-wheel shelter
This shelter has a higher profile than the double-wheel shelter, which means more space within. Also it uses the frame as a main part of the shelter, which means you don’t have to worry about leaving bits of your bike stranded outside.
The higher ridge also means it’s safer to cook inside the tarp if the weather is poor outside – although if using a spirit burner and it’s windy, you might still want to cook outside of your shelter.
There’s also some flexibility with this shelter to increase space and airflow by using your front wheel as an extra post.
Step 1
Remove the front wheel from the bike, and rest the fork on the ground pointing into the wind. Use paracord or bungees to temporarily fix your bike frame in a stable upright position.
Temporarily fixing the cord to your saddle is a convenient spot – but really anywhere towards the rear end of your bike should work.
Step 2
Spread your tarp over your bike frame and use some paracord to secure the centre eyelet to your bike so the tarp rests halfway over your saddle.
Step 3
Extend the tarp and peg down the two furthest corners.
Step 4
Move the paracord (or bungees) attached to the bike to the corners of the tarp and use those as guy ropes to tension the tarp, and then adjust the tension in any pegs as necessary.
Step 5 (optional)
If it’s not too windy, and you’d like a bit more space and ventilation, follow step 2 of the double-wheel shelter and use your front wheel as an extra post to create a much more spacious abode.