How to use our Cycle safety: make it simple handlebar fliers
How to use our Cycle safety: make it simple handlebar fliers
Prompted by the Government's cycle and pedestrian safety review, Cycling UK has launched our Cycle safety: make it simple campaign to tell the Government what needs to be done to make cycling safer in the UK. We need as many respondents as possible to contact the Department for Transport via our campaign action to add weight to the recommendations made in our consultation response (which is due to be published shortly, while the executive summary can be found in the form of the Cycle safety: make it simple report.)
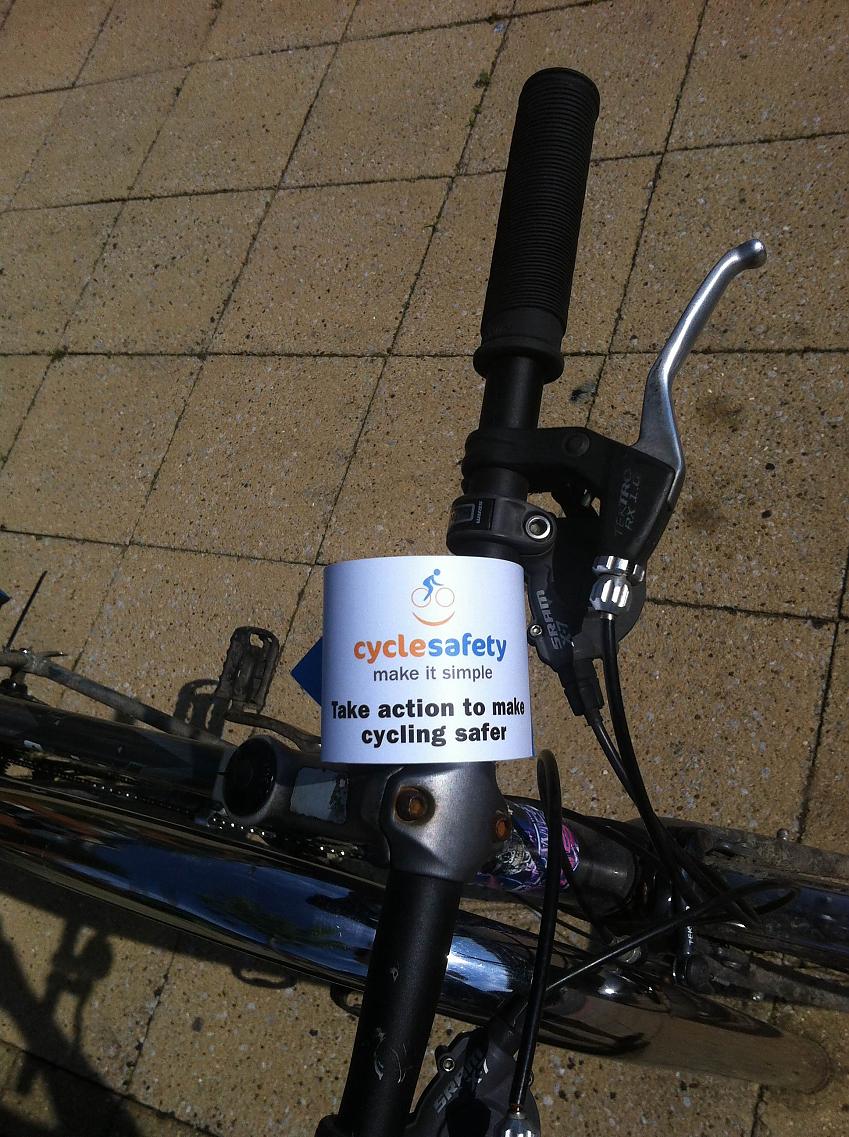
If you are passionate about safe cycling, please take whatever time you can - be it just 5 minutes or a whole hour - to print off our handlebar flyers and distribute them to local cyclists, for example by attaching them to bicycles at train stations or town centers. However, remember that we have only until 1st June before the consultation closes! Once you've attached the flyers, please do take some photos and share on Facebook or Twitter, tagging Cycling UK and using the campaign hashtag #whywouldntyou.
Please follow the simple steps below to print off your handlebar flyers and get them ready to use.
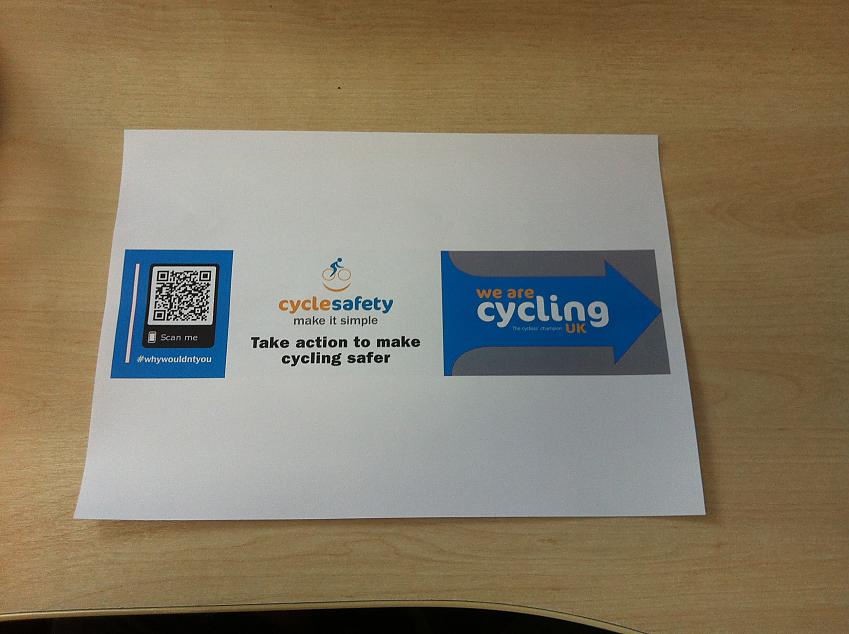
1. Download the pdf of the flyer.
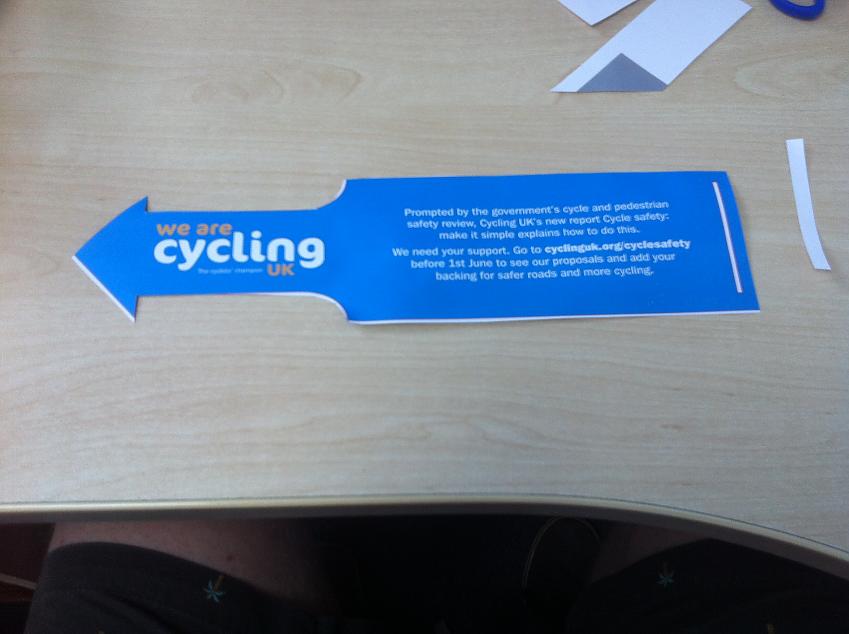
2. Open the pdf and print the flyer, ideally two-sided and in colour. If you print two sided, you will need to select “long side bind” under two-sided settings to ensure that the flyer matches up on each side (this will usually be the default setting).If you don't have a two-sided printer, you will need to print p1 of the flyers and then put the paper back in the printer and print p2.
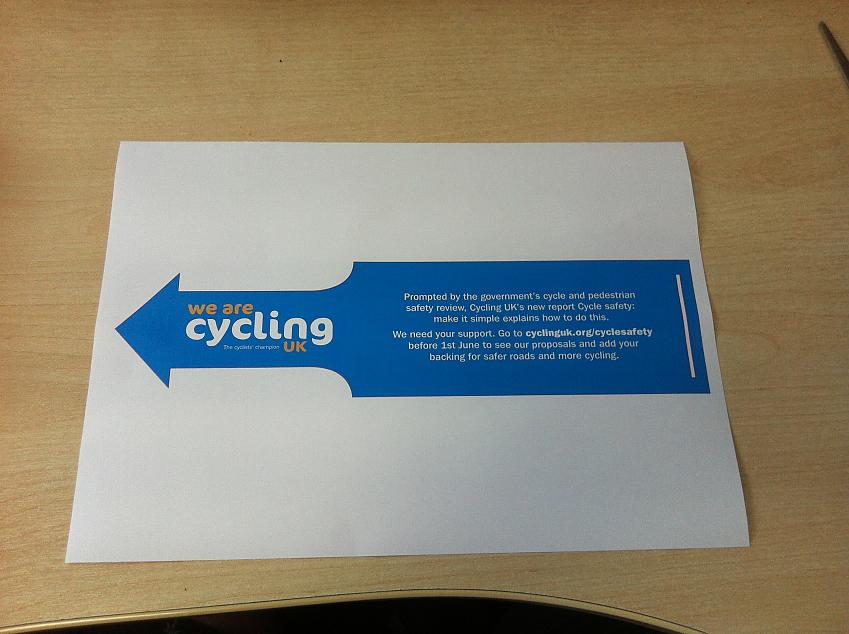
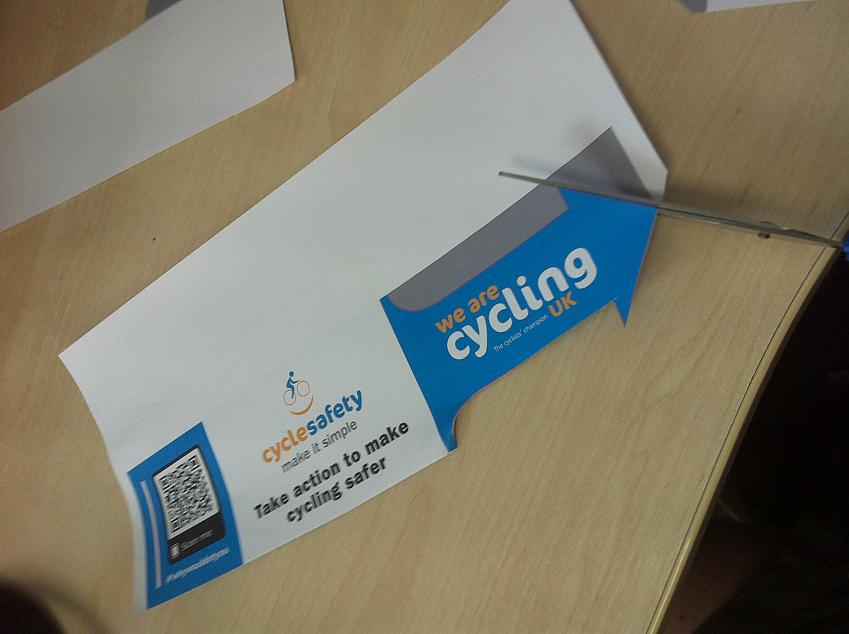
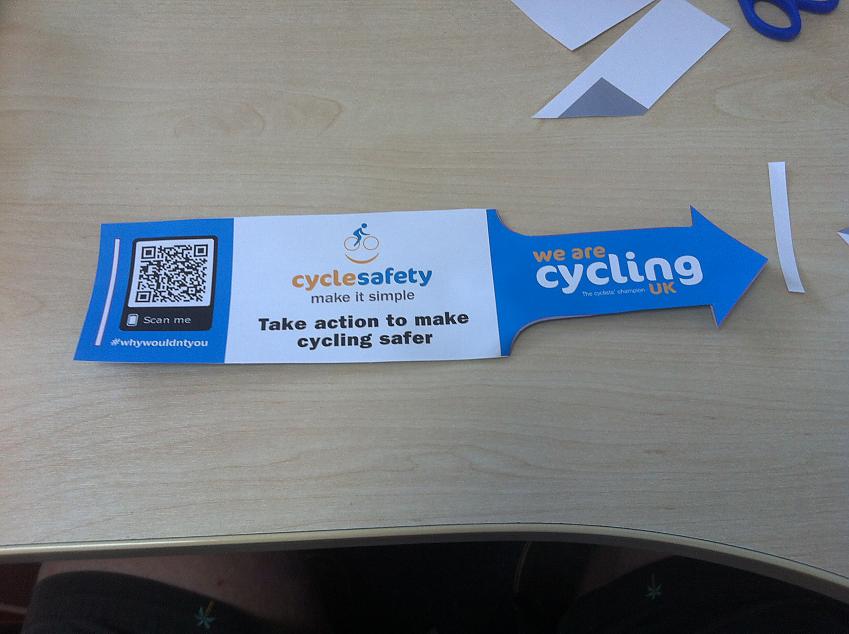
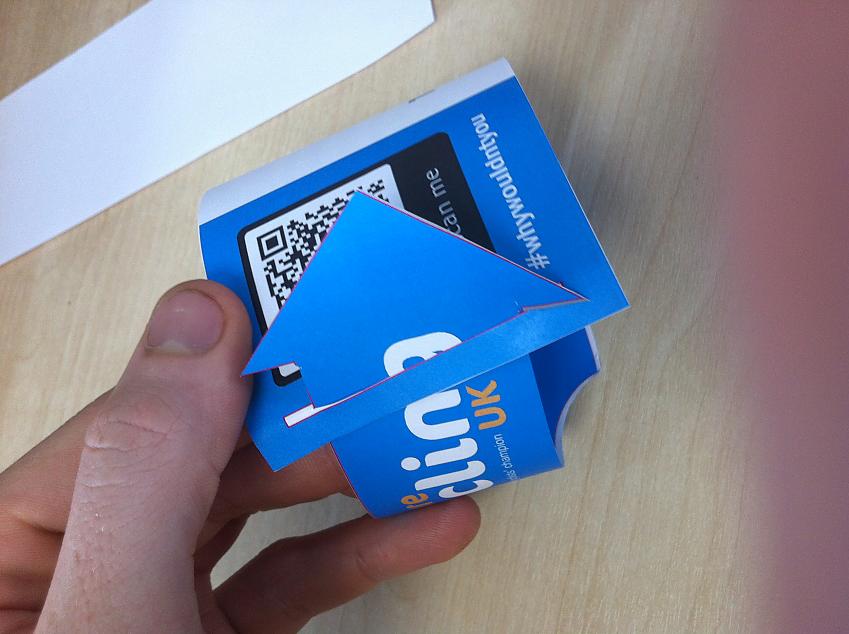
3. Cut out the outline of the flyer, around the arrow which will be used to attach the flyer to handlebars.
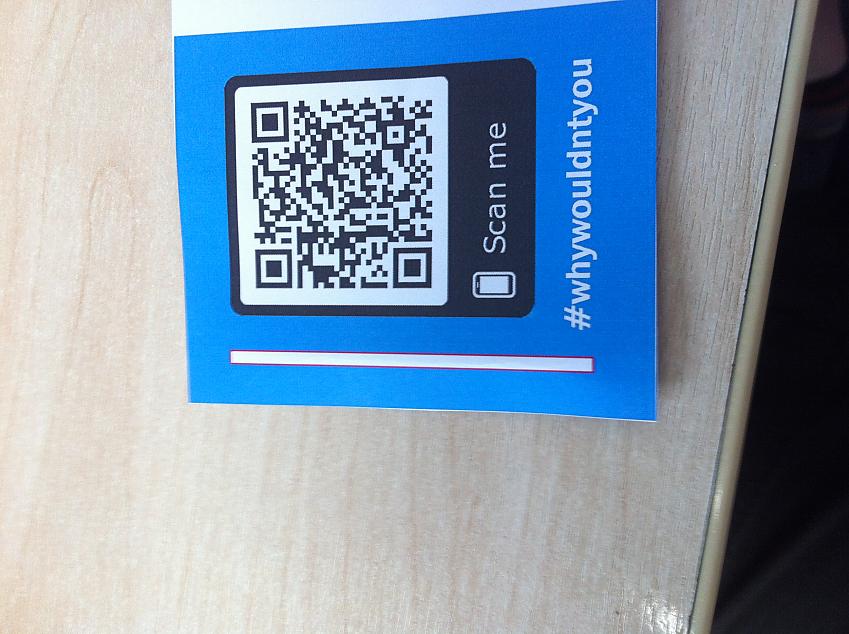
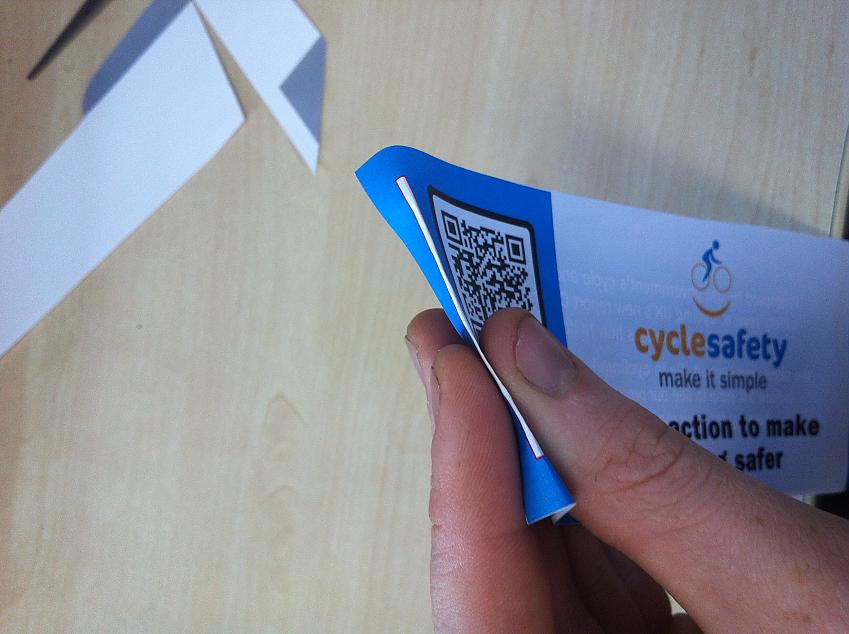
4. To make the slot for the arrow, fold the flyer along the white rectangle at the opposite end arrow.
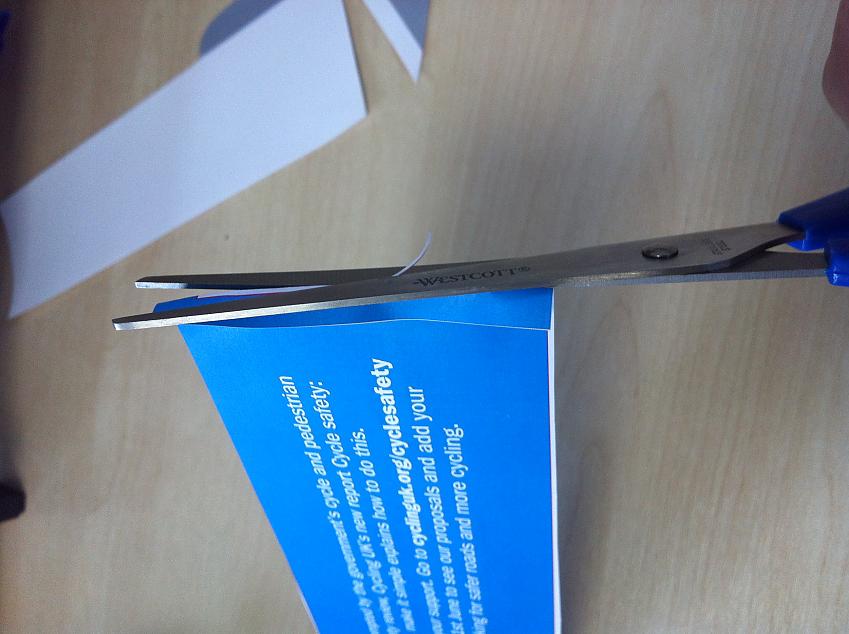
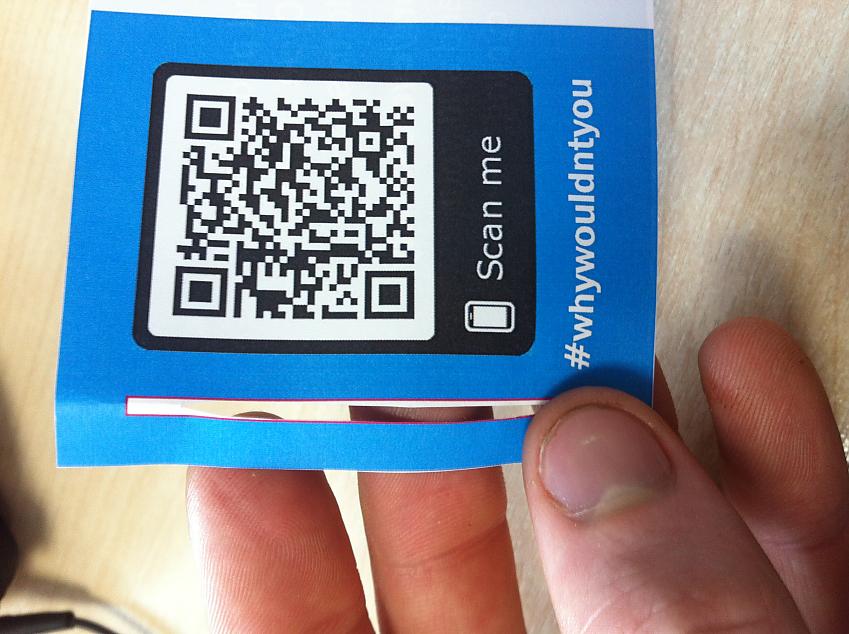
5. Cut along the fold to create a long strip for the arrow to enter, leaving about 1-2cm of paper on either end of the hole.
6. Insert the arrow into the hole to attach the flyer to a bicycle handlebar or frame.
7. Take a photo of the flyers once attached to bicycles and share the photo on social media, tag Cycling UK and use the hashtag #whywouldntyou.
Thank you for your support!


